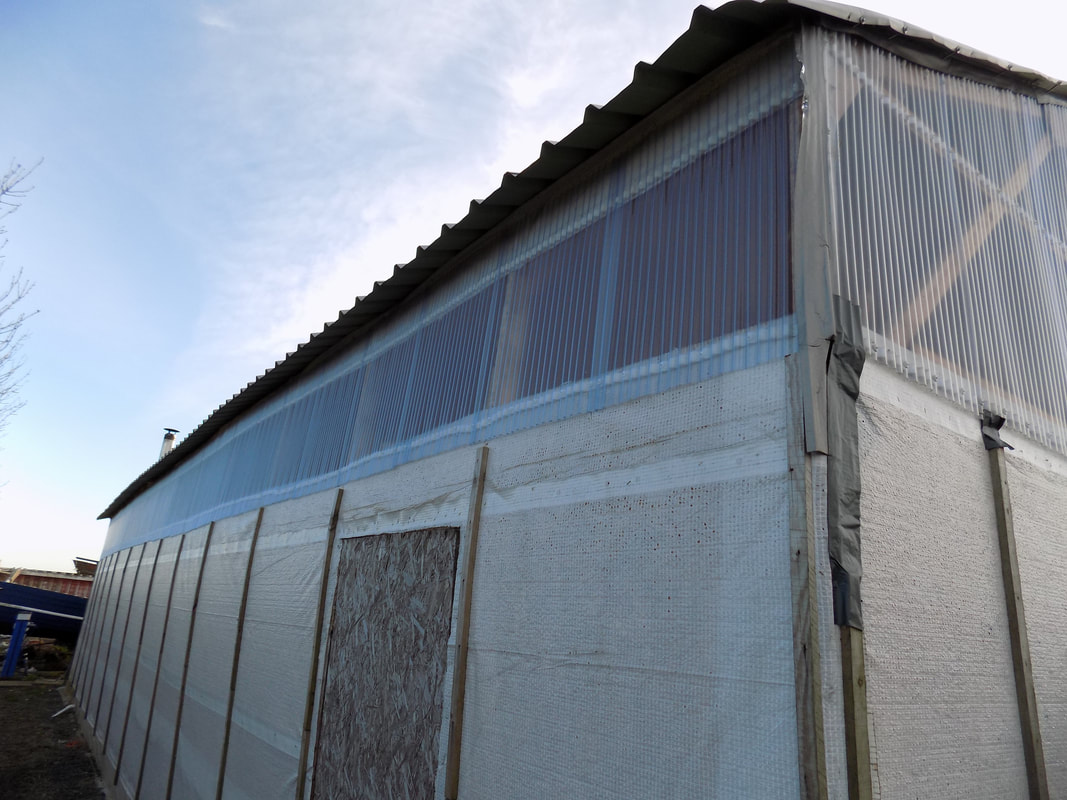
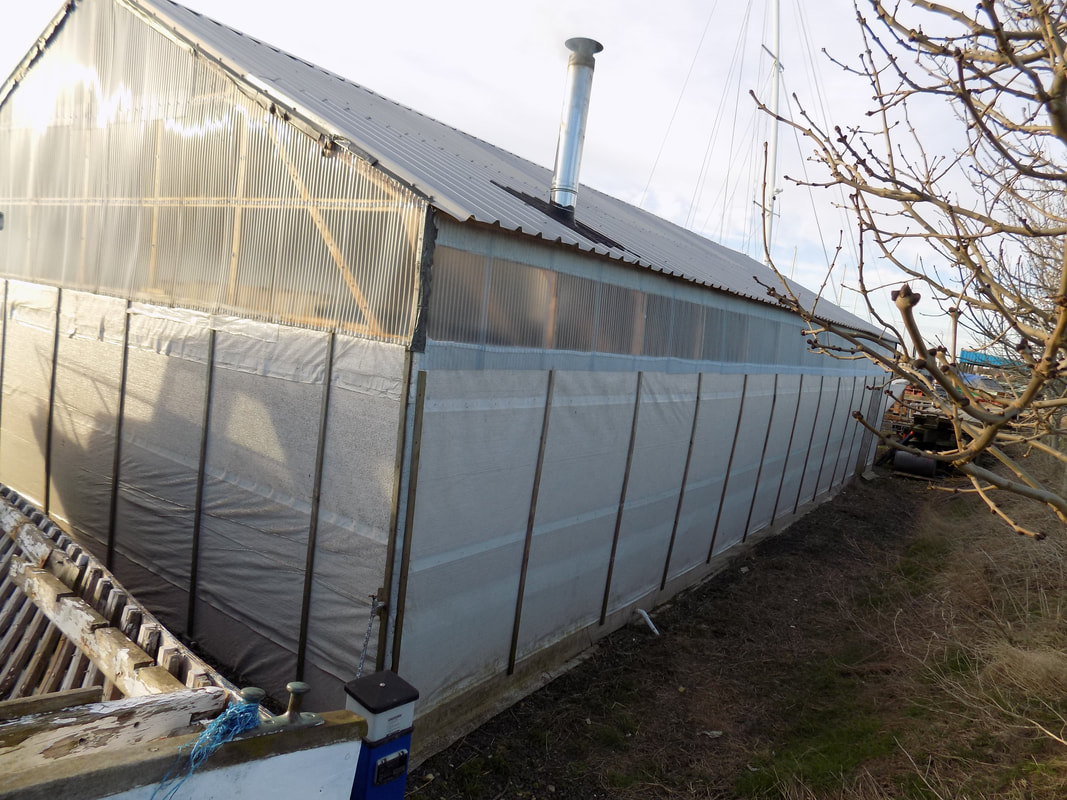
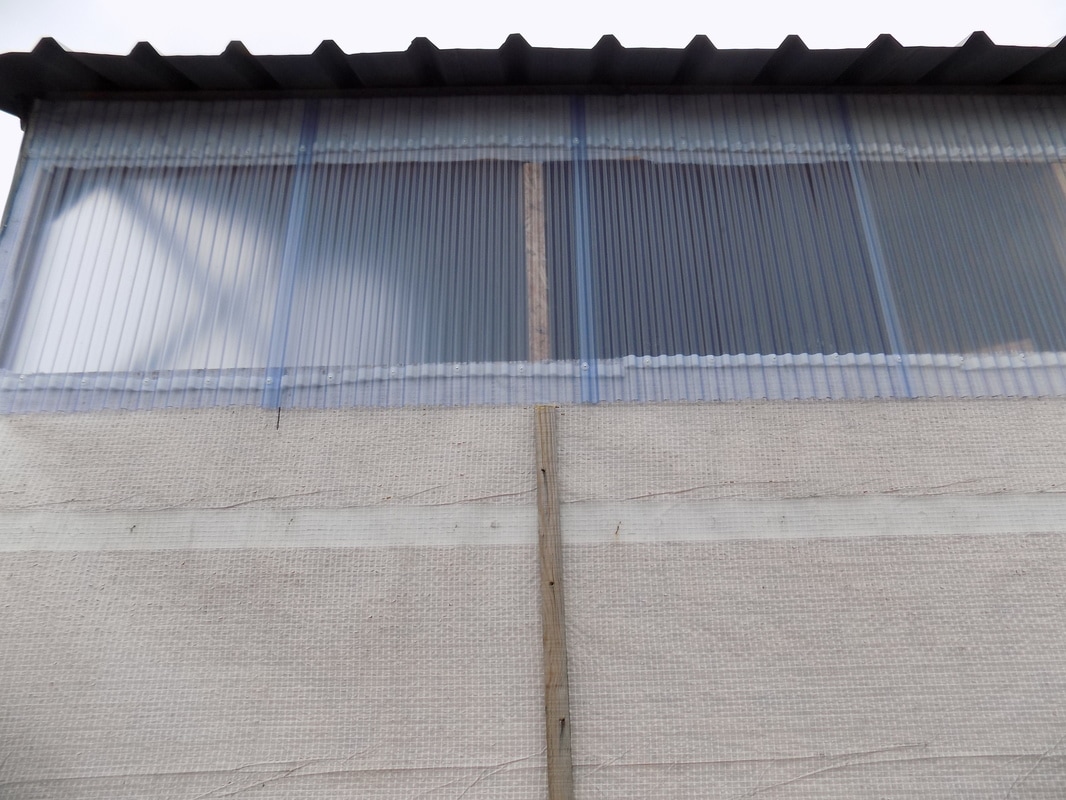
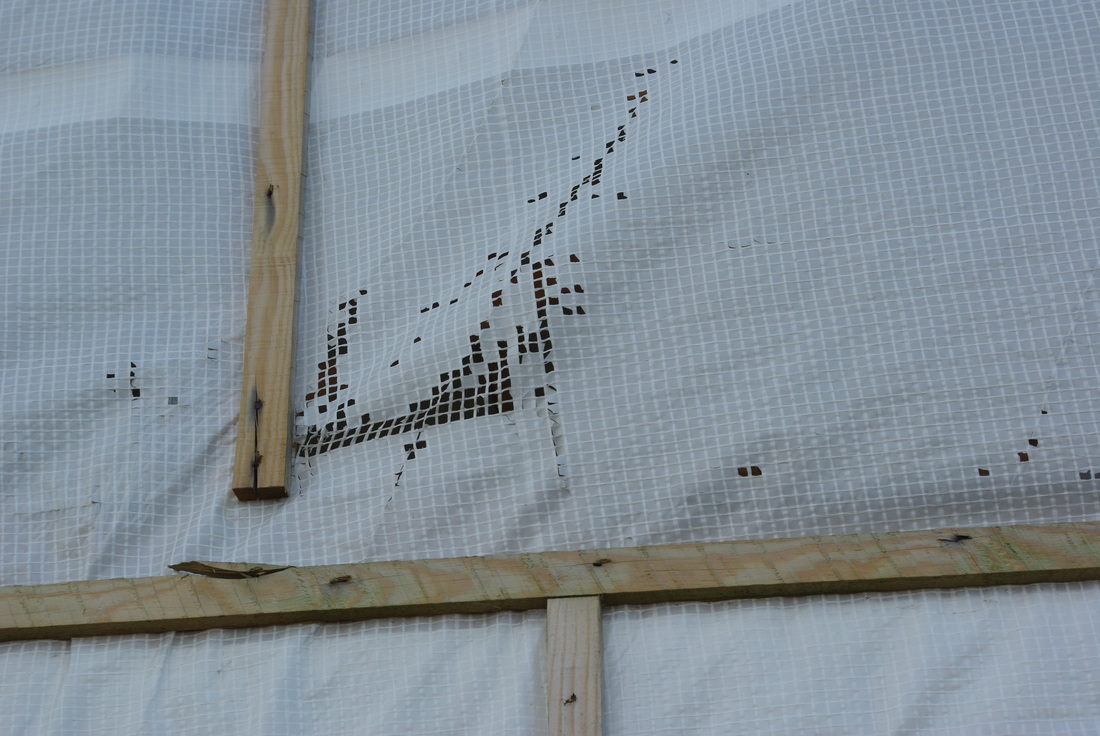
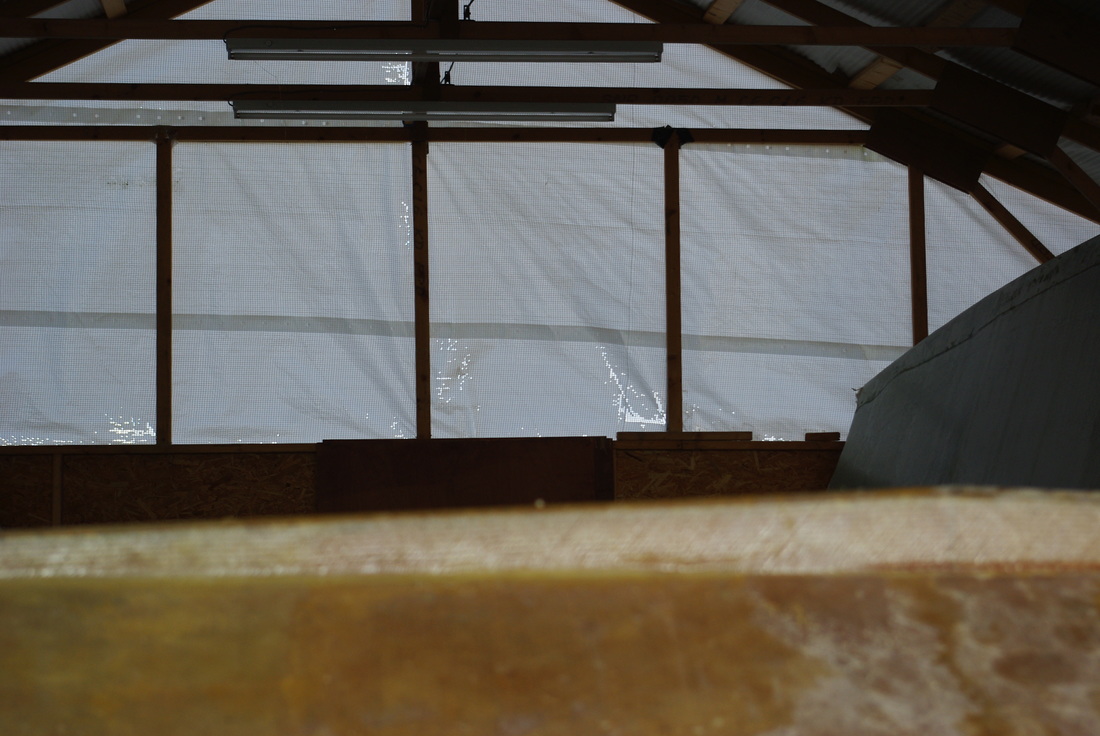
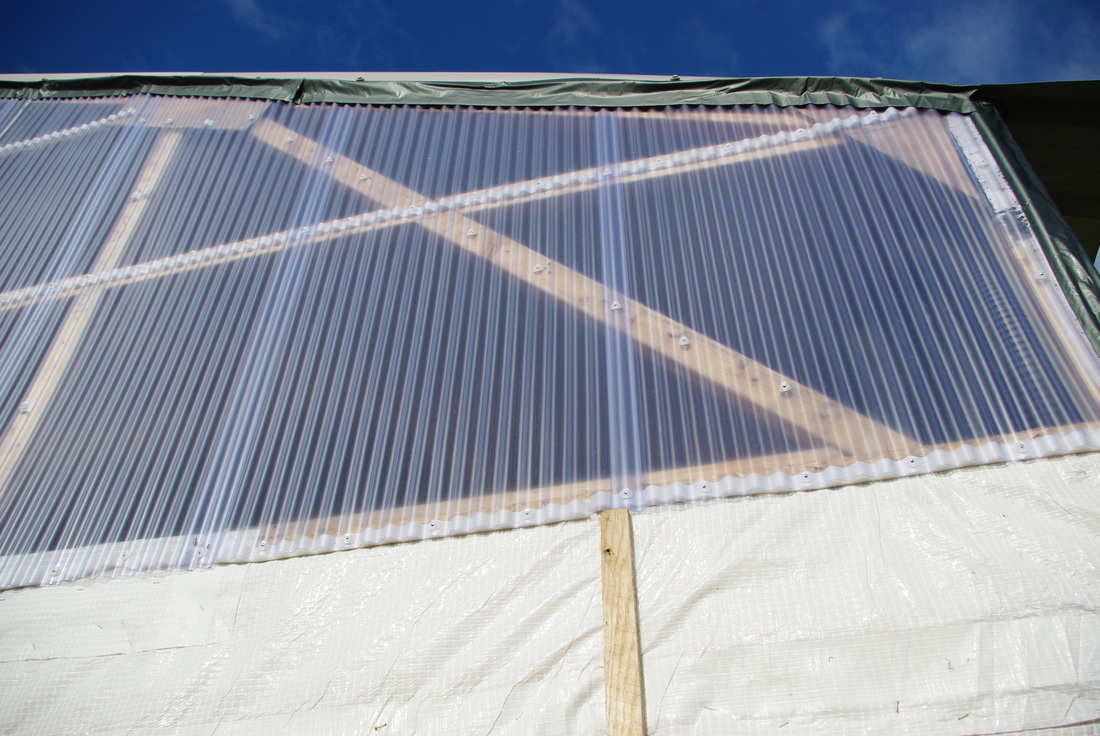
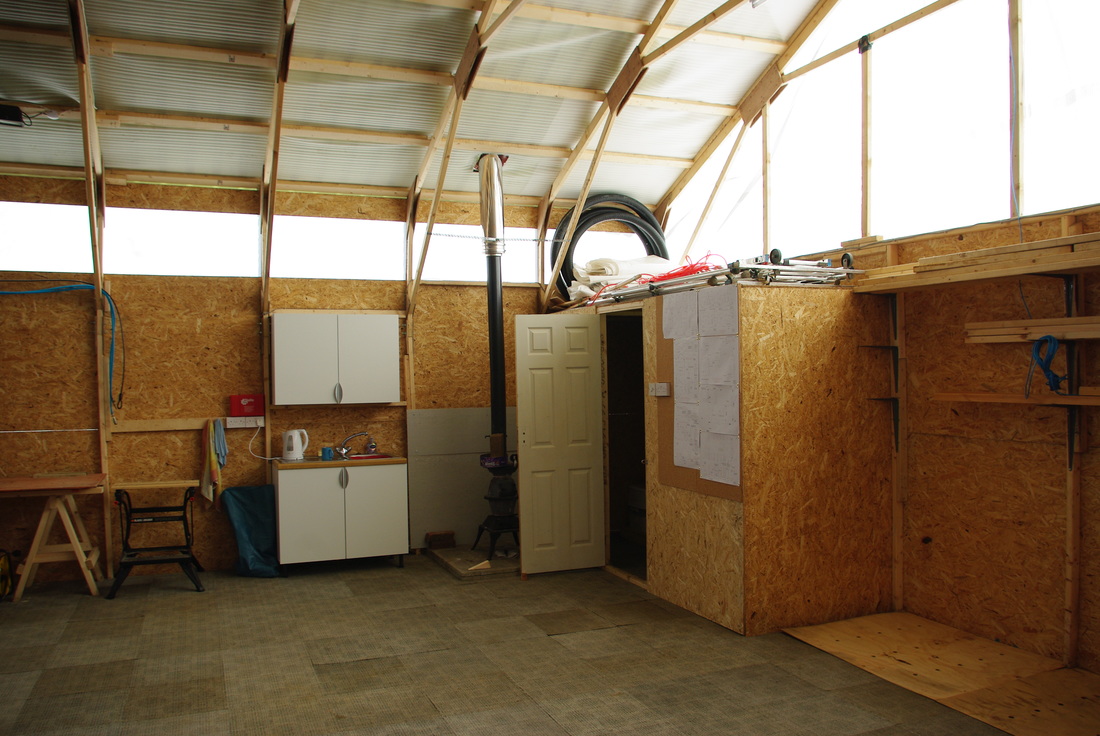
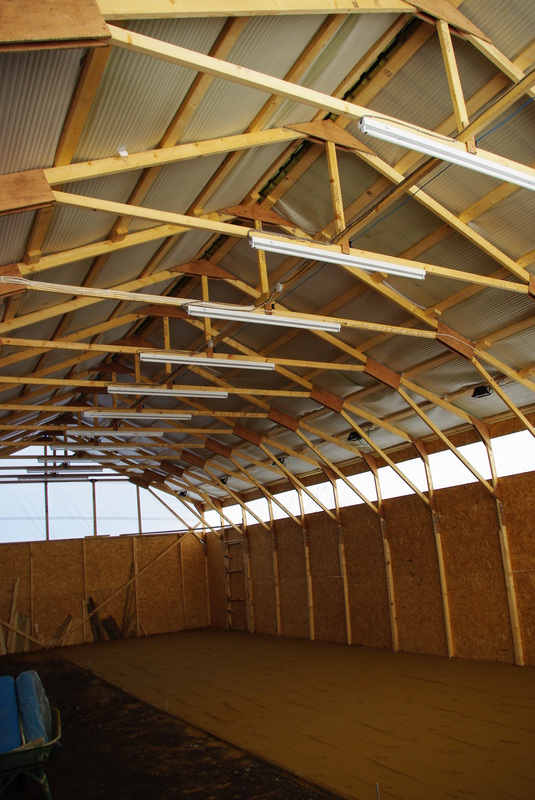
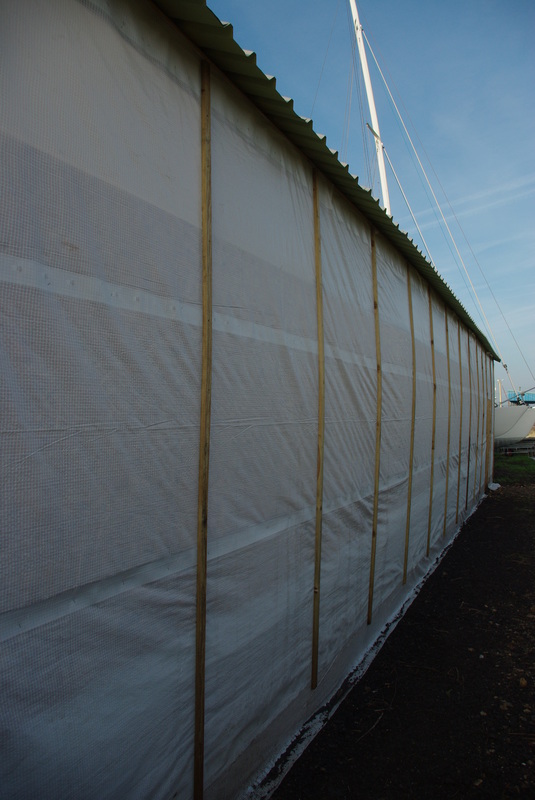
The scaffold sheet on the window section of the other side wall has now blown through and so has been replaced with corrugated plastic sheet.
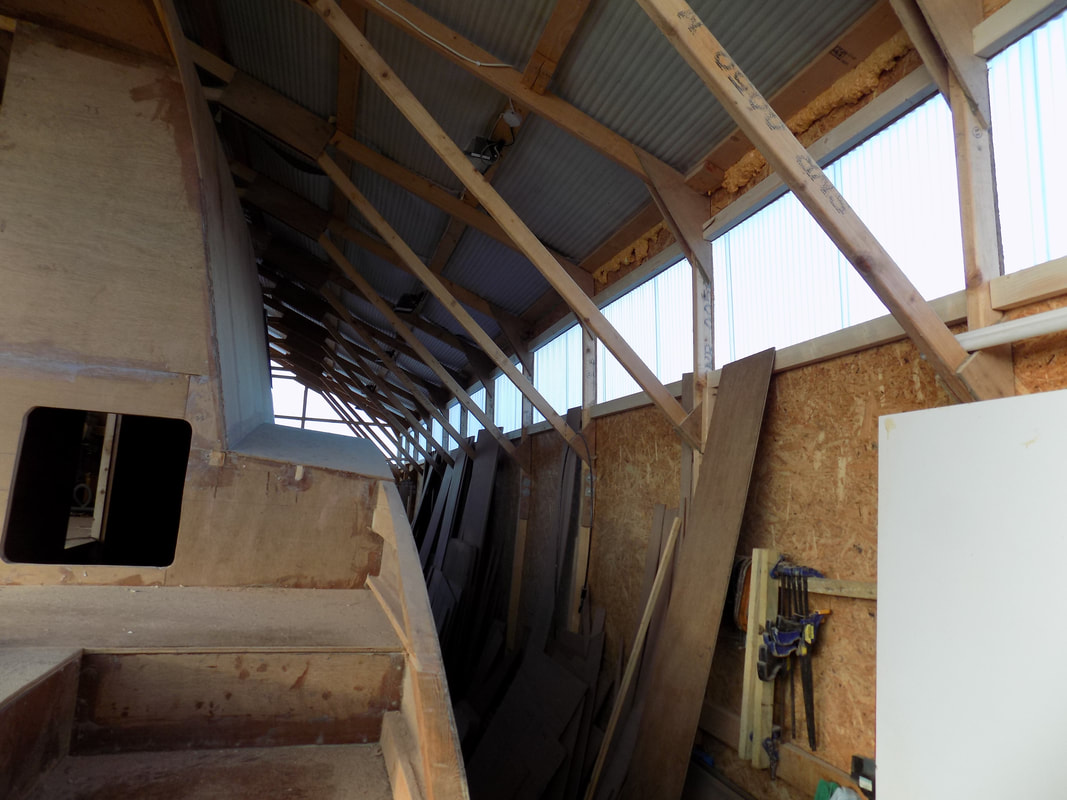
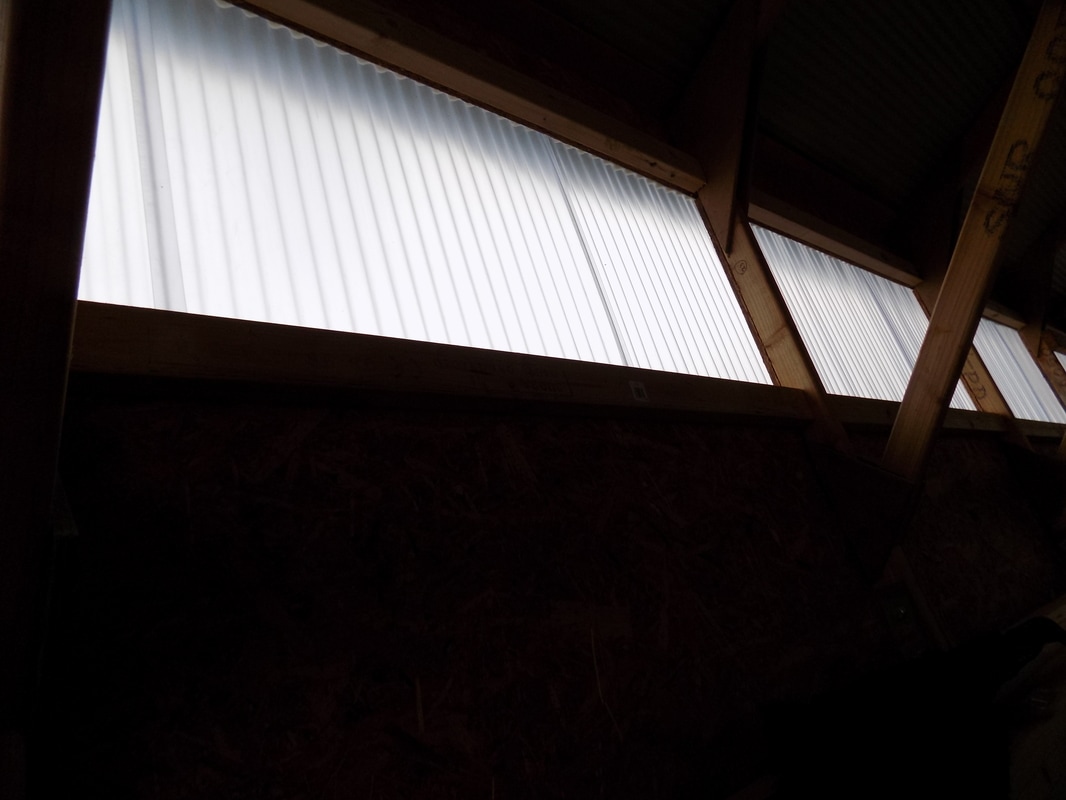
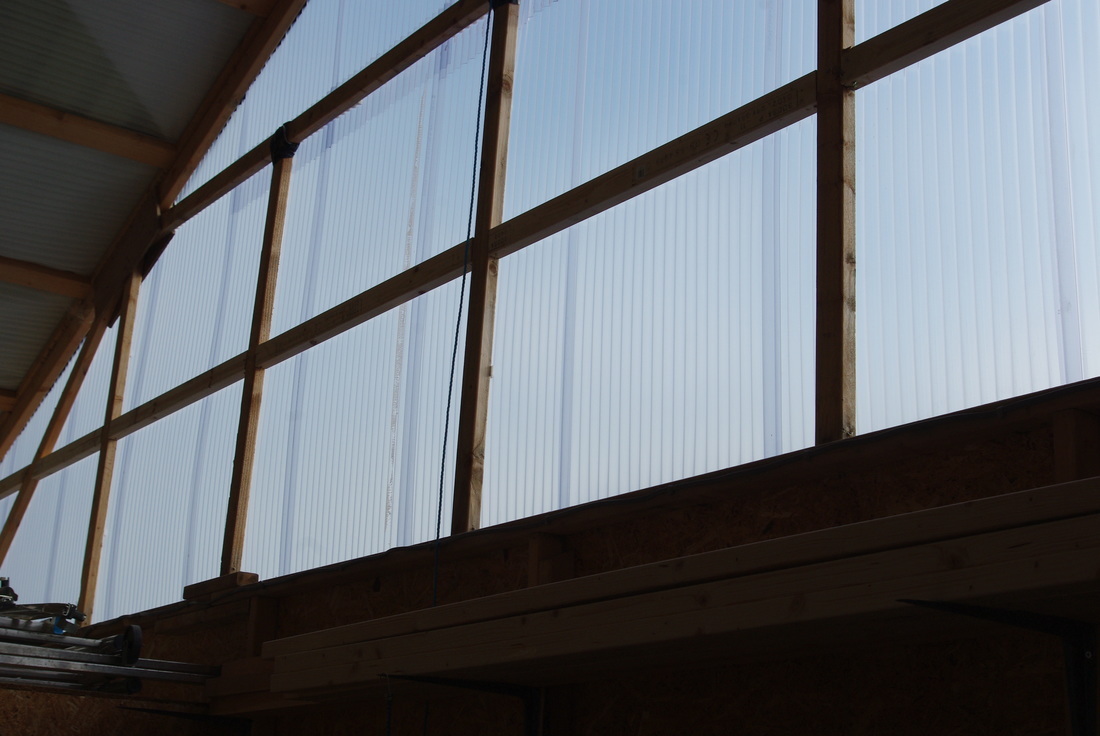
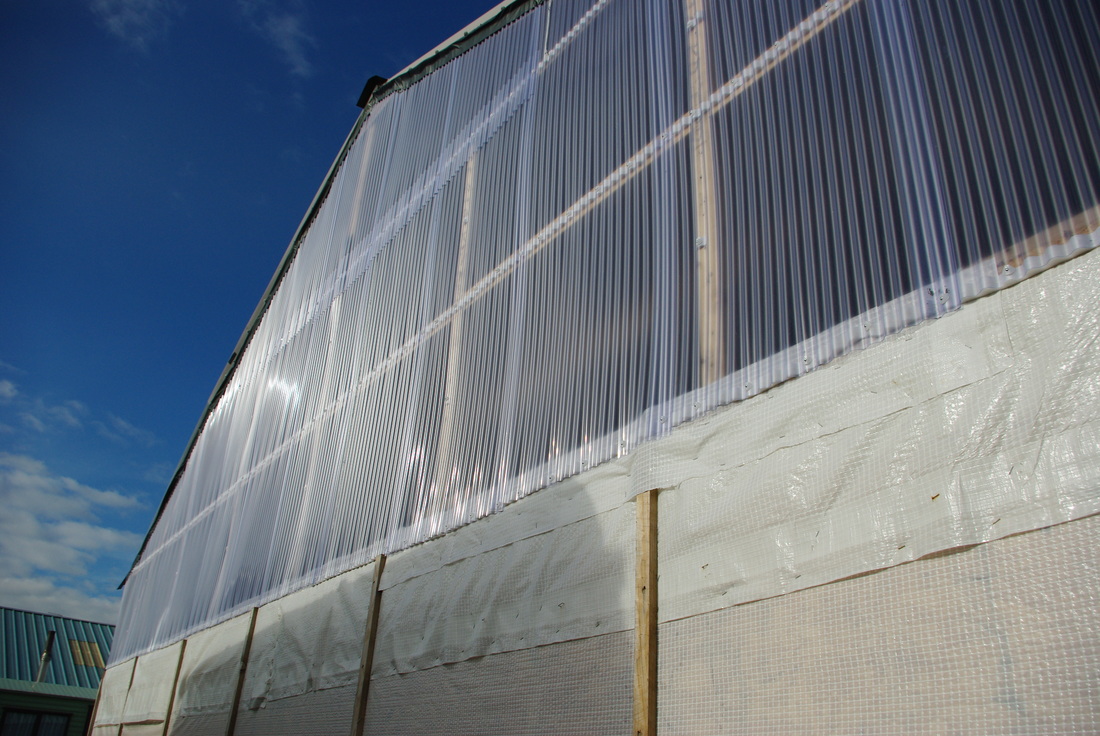
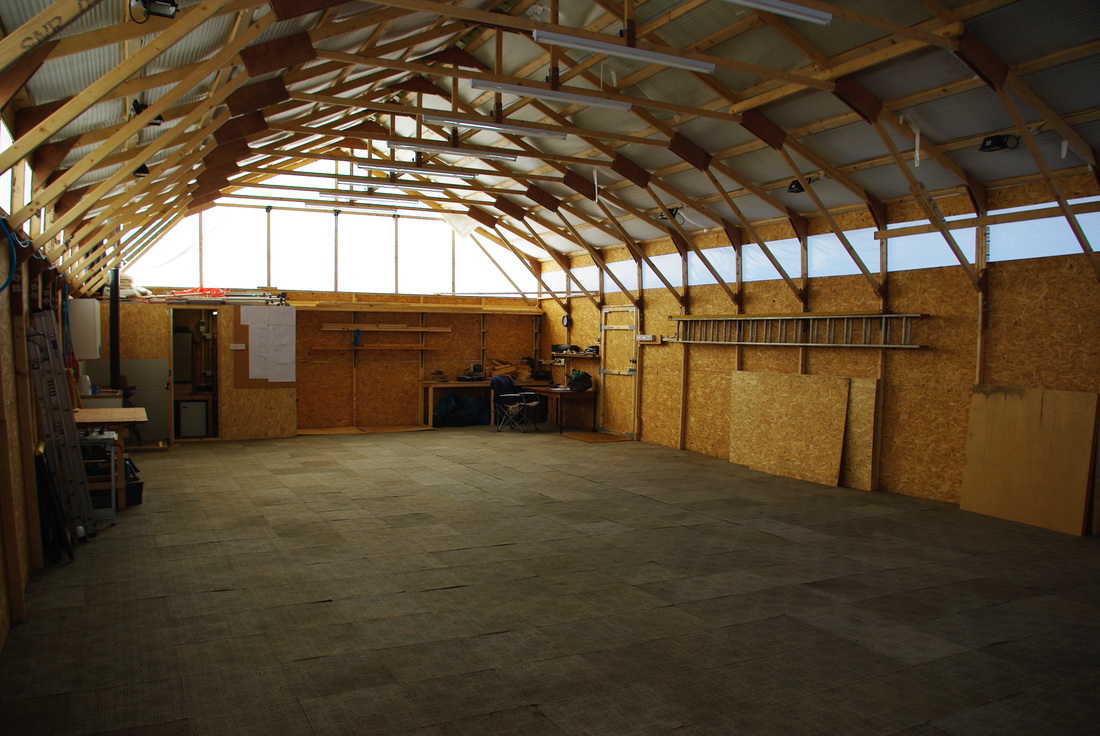
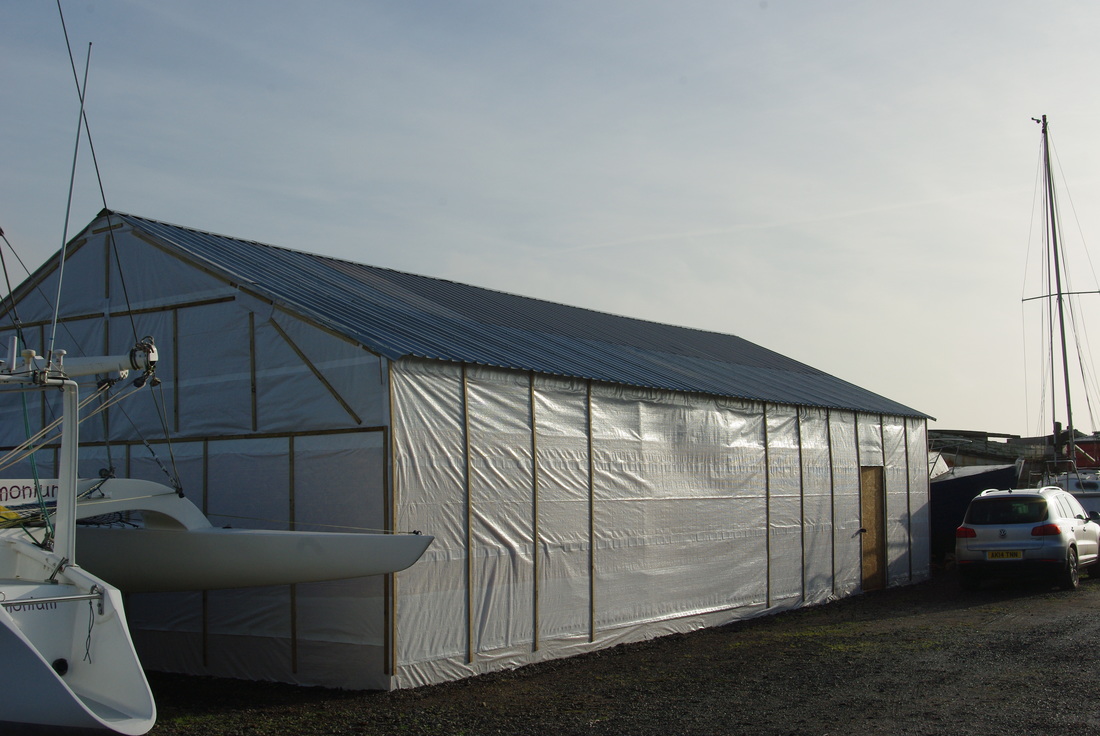
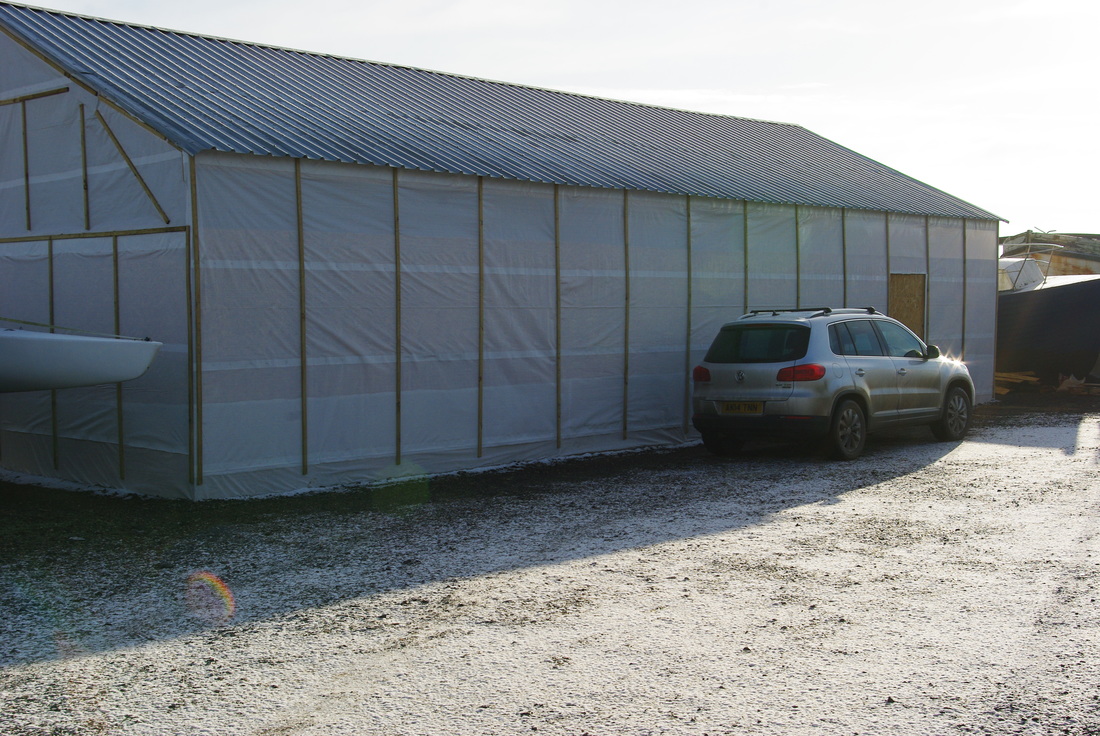
The window sections on all four walls have now been replaced. The corrugated sheet is both stronger and allows through more light.
The window sections on all four walls have now been replaced. The corrugated sheet is both stronger and allows through more light.


 RSS Feed
